Polacanthus Reconstruction: Part 8 ‘Keeled Spines’

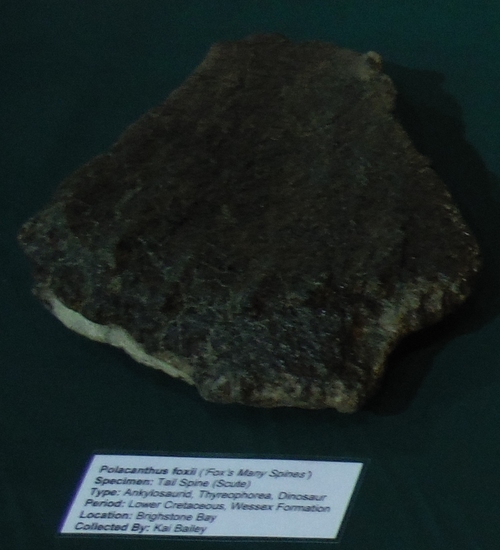
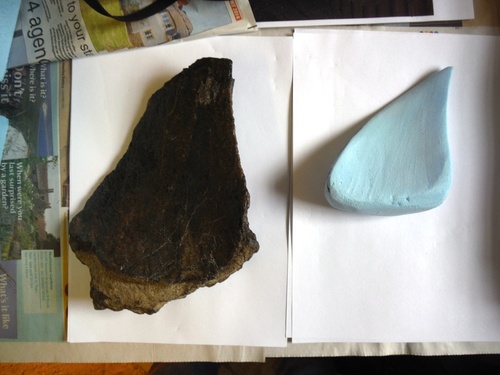
In 2010 Kai Bailey, a local Fossil Hunter, discovered a rare and unusual Polacanthus Spine at the base of the cliff.

He loaned the Spine along with some other fossils when we opened the Dinosaur Expeditions Centre in 2013. At the end of the tourism season we acquired these fossils to become a permanent part of our collection.

image

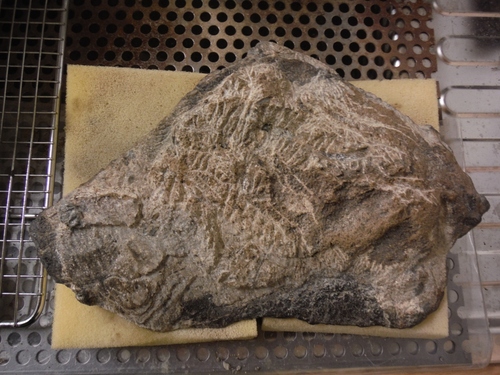
With only a fortnight to go until the 2013 ‘Blast from the Past’ weekend at Dinosaur Isle I had my work cut out to get the Spine prepared in time for the event. Encased in a tough sideritic concretion I spent everyday with our Paleotools ME9100 air chisel, chipping away to expose the fossil underneath.

image

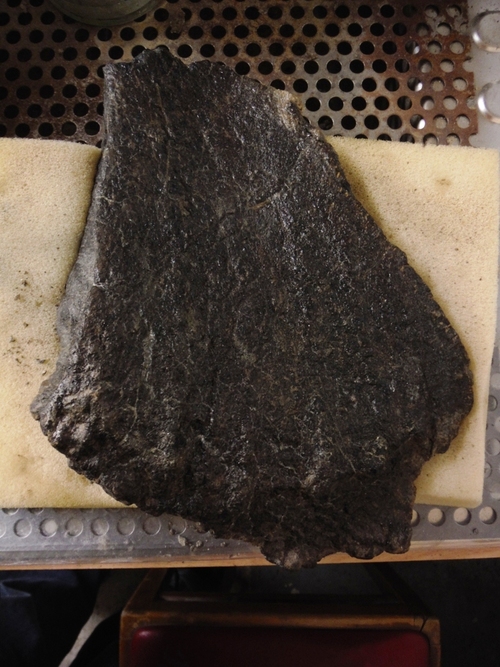
I finished the preparation of the spine just in time for 'Blast from the Past’. 

image

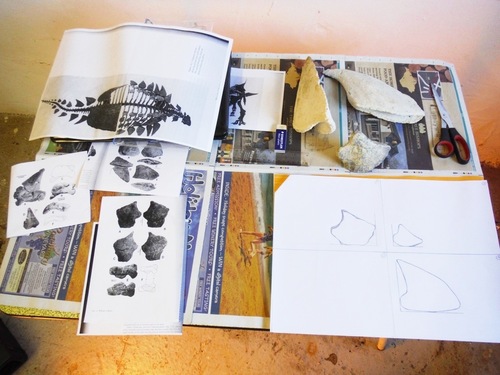
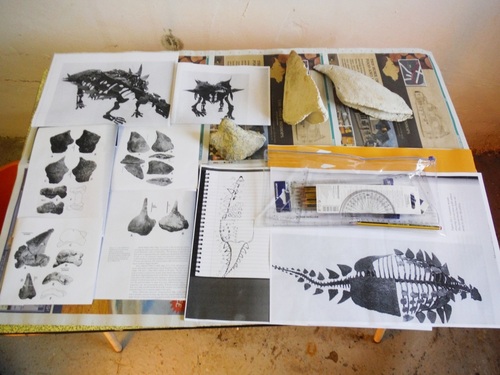
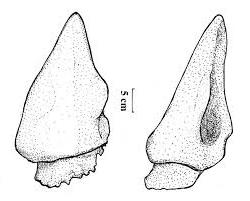
The spine is comparable to a spine discovered at Barnes High which formed the basis of a paper by Justin Delair in 1980. The spine has a keel which securely imbeds it into the body of the animal. It also has a large depression on the posterior (back) edge which suggests the position of the spine would have been an area with lateral (sideways) movement allowing the spines to touch without damaging them.

image

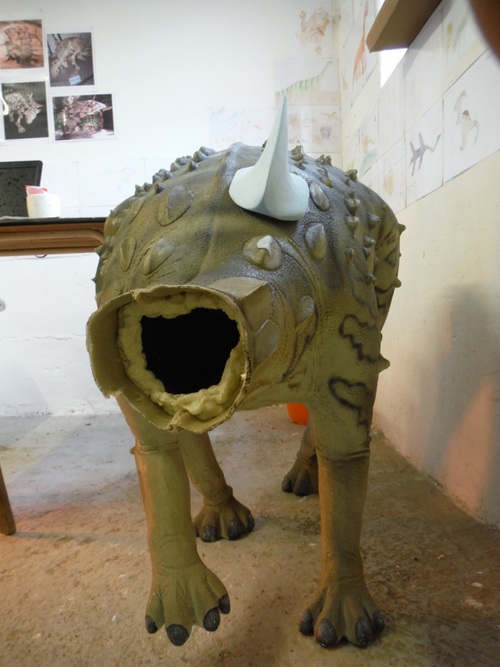
Originally the idea was to make a silicon rubber mould and cast the spine in urethane resin, however I would still have to sculpt the other spines for the Polacanthus model. Also the missing tip would need to be sculpted, so the decision was made to sculpt all the spines for the model.

image

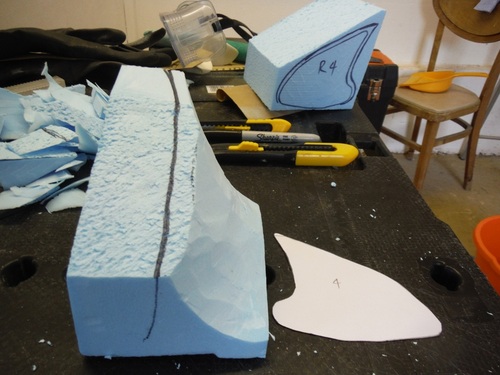
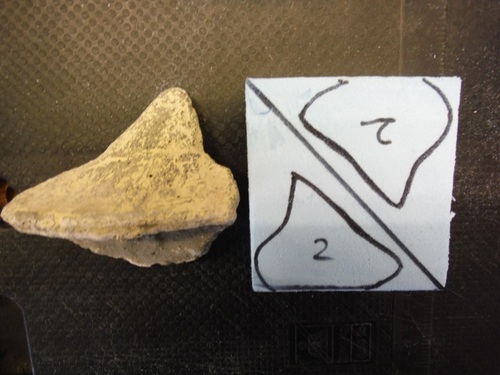
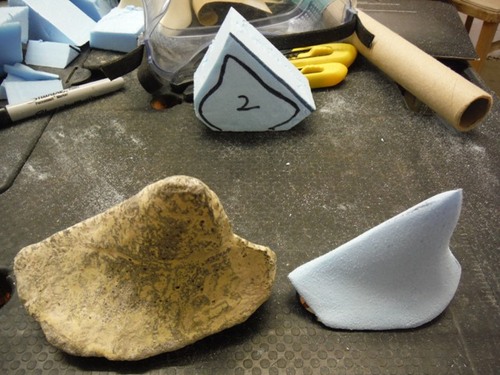
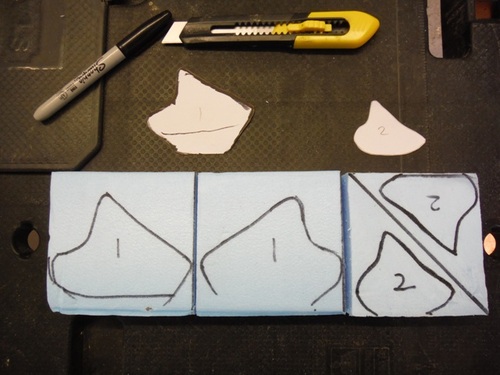
I worked out length of the spine (including the missing tip) and measured maximum width. I scaled the spine to just over half scale and drew the template on paper.

image

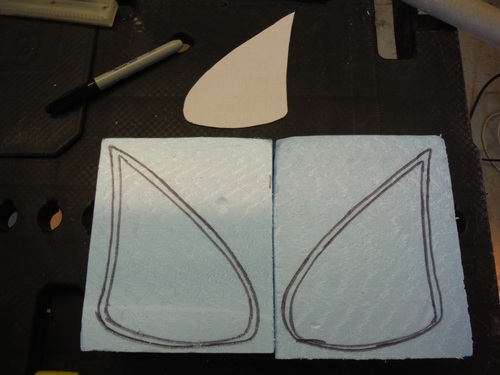
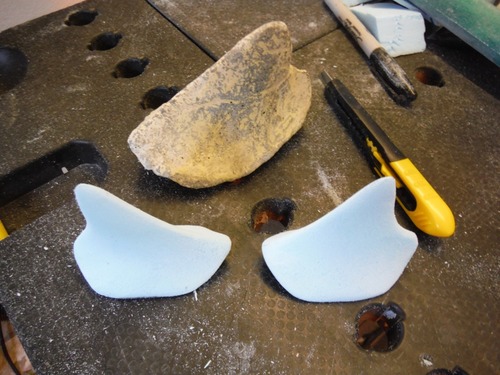
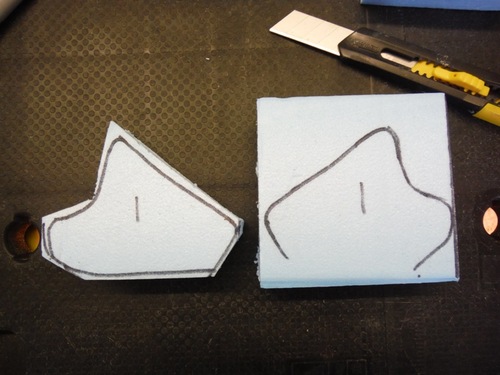
Next I cut the template out and marked the outline on the blue extruded polystyrene foam.

image

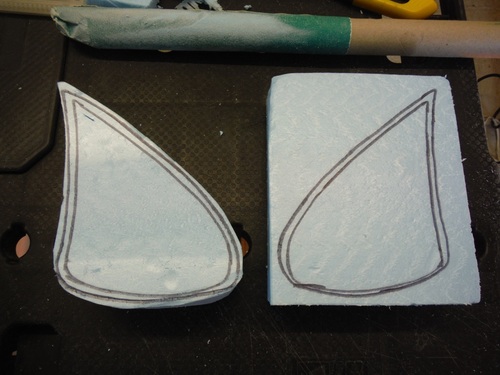
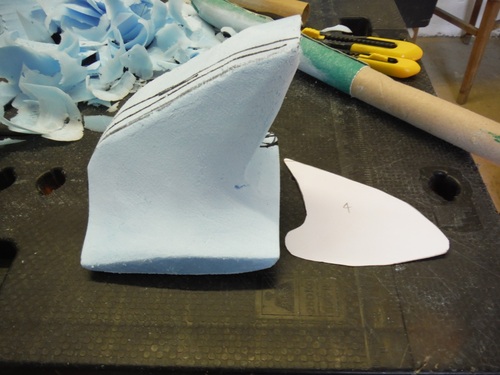
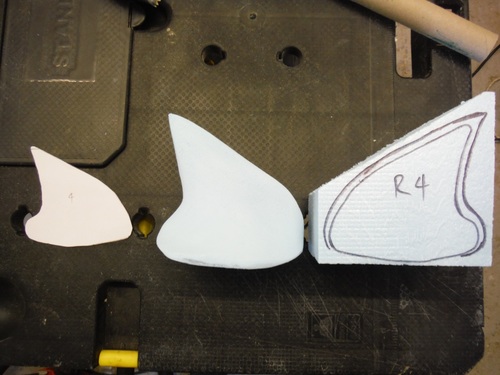
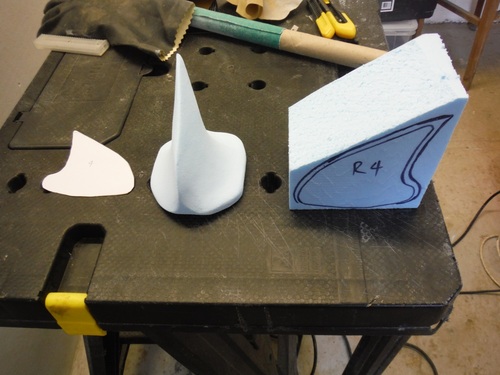
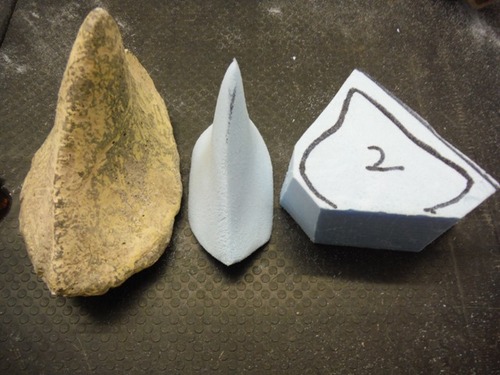
After I cut the shape out of the foam I started to carve the spine.

image

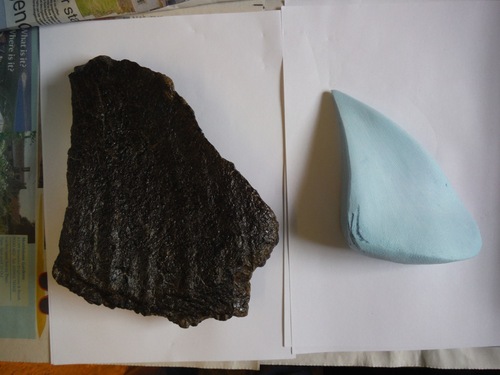
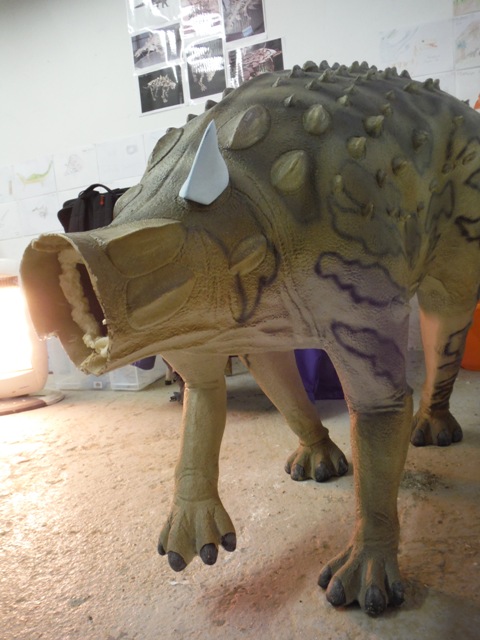
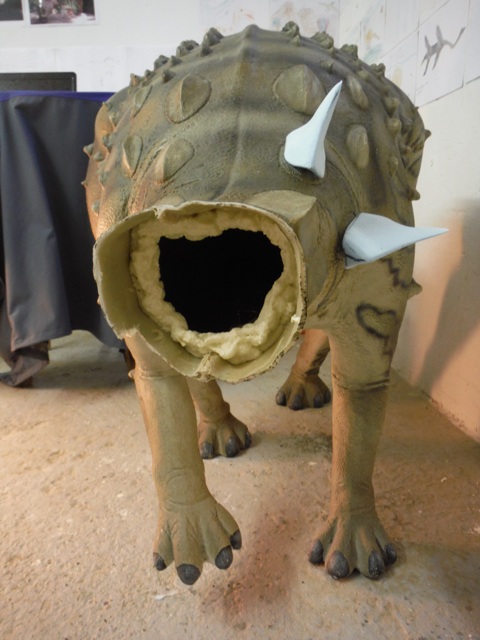
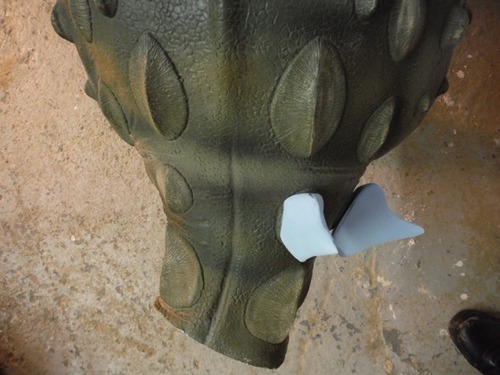
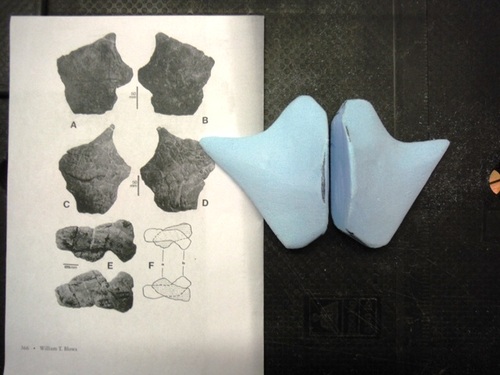
The newly sculpted spine doesn’t have a keel on the bottom because it will not be visible on the model. In addition the vertical ridges which in life would 'key’ the keratin to the spine are not shown because they would be covered-up.

image

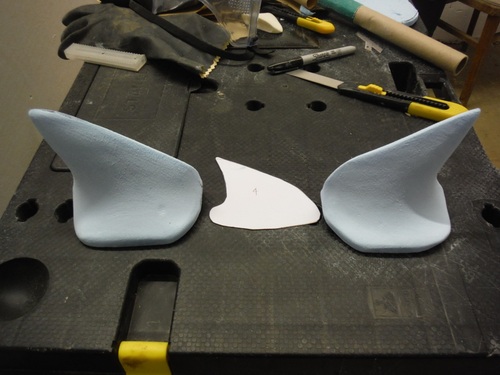
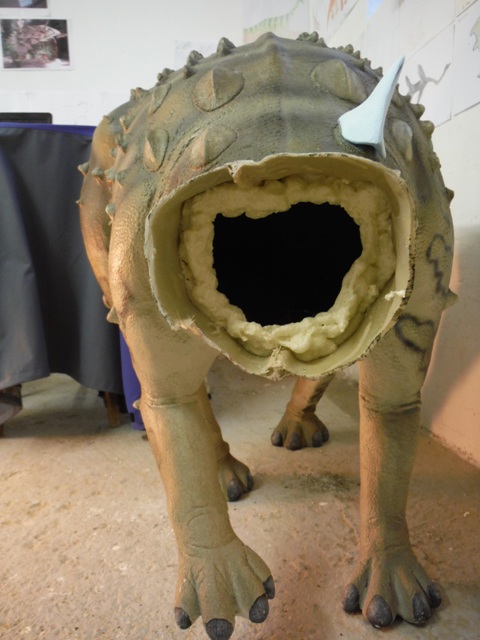
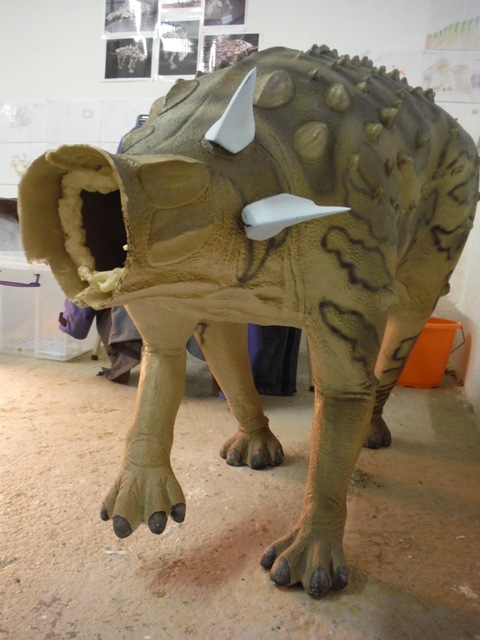
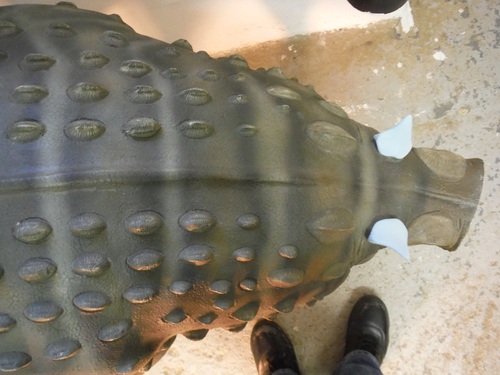
With the first spine finished I started the opposite spine of the pair.

image

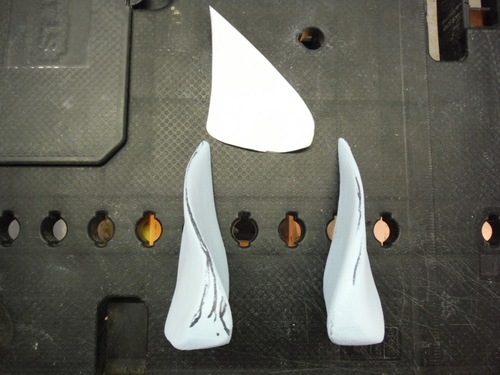
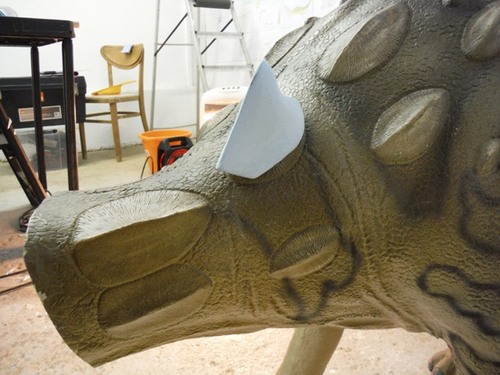
Note the prominent curve in this view of the front of the spines. This curve increased the structural integrity of the spine allowing it to withstand greater forces than if it was straight. Thereby reducing the risk of the spine snapping in half whilst being used as a weapon.

image
image

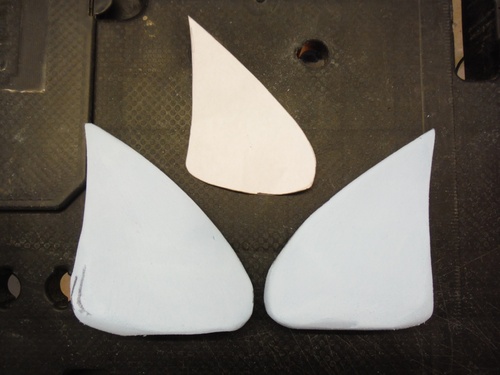
With the first pair of Caudal (Tail) spines complete, I will sculpt a pair of Polacanthus spines based on a plaster cast of an elongate Caudal spine.

Polacanthus Reconstruction: Part 7 ‘Dorsal Spines’

I visited Dinosaur Isle Museum at Sandown on the Isle of Wight and whilst I was there I saw one of the Dorling Kindersley dinosaur models in the lab.

image

The Gastonia model has an original arrangement of spines.

image

The tall lateral (side) spines near the shoulders are quite striking compared with other reconstructions.

image

The model demonstrates the side row of spines from neck to the tip of the tail that formed Gastonia’s primary defense against predators.

image

The tail of Gastonia would have been a formidable weapon against medium to large theropods. Similar in effect to an Aztec Macuahuitl, the keratin covered tail spines would have probably caused significant lacerations to the lower body of any dinosaur unfortunate enough to be in the way of the swinging tail.

Suitable inspired, I returned to the Dinosaur Expeditions Centre at the Dinosaur Farm and decided to focus on producing a pair of dorsal (top) spines, notable for having a solid base.

image

I marked out the template on the foam with the keratin thickness outline added and started carving the shape out.

image
image
image
image
image

Once the first spine was finished I temporarily mounted it on the Minmi model to check how it looked.

image

I still need to blend the spine to match the body but the overall effect is imposing. So I repeated the process to make the opposite spine.

image

Next time I will sculpt a pair of Polacanthus spines based on a rare fossil.

Polacanthus Reconstruction: Part 6 'Cervical Spines'

With the first pair of Cervical (neck) spines done, I decided to base the next pair of (slightly bigger than half scale spines) on a plaster cast of a fossil Polacanthus spine rather than some small black and white photographs.

image

With the outline of the template marked out on the foam, I cut out one of the spines and started carving. A couple of hours later I had finished the left spine.

image
image

Before starting the opposite spine I thought it would be a good idea to mount the spine on the Minimi model to see how it looks. I temporarily attached the foam spine to the fibreglass model with a small piece of modelling putty

image
image
image

So far so good. Next I added the first cervical (neck) spine to check the effect of both spines together.

image
image
image
image

Obviously to finish the model they will need to be blended to fit when finally mounting them but the overall impression seems great.

An hour later I had carved the opposite spine.

image

So I mounted the pair of spines on the model.

image
image

Not too bad for a few hours work! Next I will look at a reconstruction of the Polacanthid Gastonia and sculpt a pair of  ‘solid-based’ scapula-coracoid spines.

Polacanthus Reconstruction: Part 5 ‘First Blood….’

With everything to hand I was finally in a position to actually do something. Before putting scalpel to foam I needed to create some templates to base the sculpted spines on.

image

The Minmi model is approximately half the size of an adult Polacanthus. Assuming the spines discovered to date are from adults (which is quite likely) then I would need to scale the spine to half actual size.

However there was another aspect to this reconstruction. The spines would be fine in their original condition for a skeletal reconstruction. However this was going to be a life-like, fleshed reconstruction. In life the spines would have been covered in keratin, like a crocodile scute.

image

So the spines would actually need to be slightly bigger than half size to take into account the keratin surface. With this in mind I selected the pre-sacral (neck to hip) spines images and set about drawing slightly bigger than half scale outlines.

image

Once left and right Cervical Spine templates were cut out I drew their outlines on the foam. (Note the ‘keel’ on the bottom of Spine 1 below was deliberately omitted on the foam as it would be embedded in the skin in life and would not be visible on the finished model).

image

I selected the first Spine and cut around the outline.

image

A few hours later I had sculpted both Left and Right Spines, but not before the scalpel blade caught the tip of my left index finger!!! So after a quick rumage through my first aid kit for a plaster, I donned a latex glove and a rubber glove to finish the sculpts.

image

With the light level dropping I decide to call it a day. My sacrifice had not been in vain!

Polacanthus Reconstruction: Part 4 ‘We can rebuild it….’

With Christmas and the New Year celebrations over for another year, the priority was to make a start on turning the Minmi model into a Polacanthus.

The modifications required include:

  • A new head - based on Gastonia burgei.
  • A number of spines and plates over the body and the tail.
  • A Sacral Shield over the hips.

I went through my scientific papers on Polacanthus, Gastonia and their relatives to refresh my memory before putting pen to paper. Gastonia has the most complete skeleton of a Polacanthus relative and there are several mounted Gastonia skeletons on display in the United States. The first mounted skeleton was produced by Robert Gaston, Jennifer Schellenbach and James Kirkland (2001) in the Armoured Dinosaurs. They arranged the spines based on the best information available, so I decided to use this as the starting point of my attempt to reconstruct a Polacanthus.

image

The first thing to do was plan out the arrangement of the spines, scutes, the sacral shield and label them; this would allow me to break the task into ‘bite’ sized chunks.

Over forty spines, a fleshed skull and a sacral shield would need to be sculpted. So I would have my work cut out to get it ready in time for the end of March.

With time ticking the next task was to set-up a workshop space with everything required in easy reach.

image

Before starting to carve the spines I requisitioned the Children’s area (which explains the Dinosaur pictures on the walls), relocated the Minmi, set-up my drawing table, a heater and stuck my laminated inspirational pictures to the wall. With my Palaeontological Fortress of Solitude complete I was ready to get to work.